 |
|
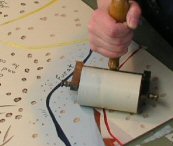
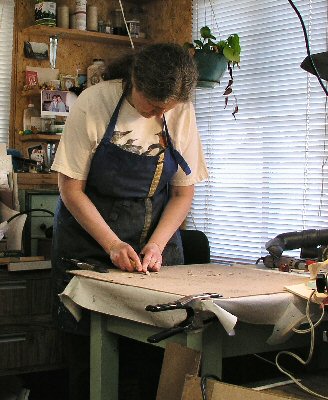
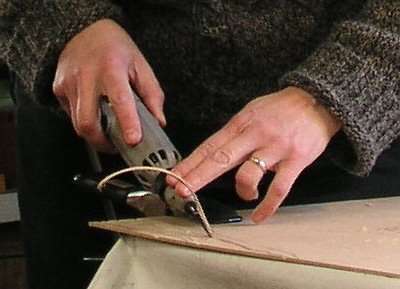
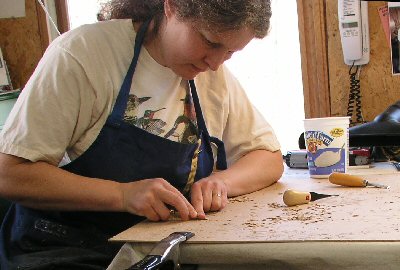
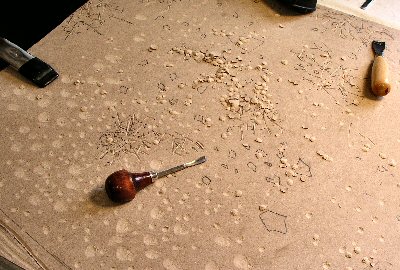
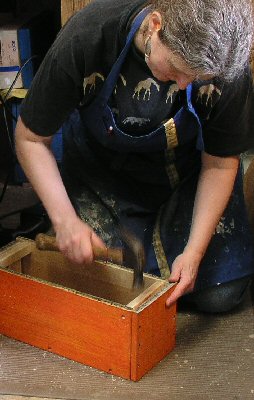
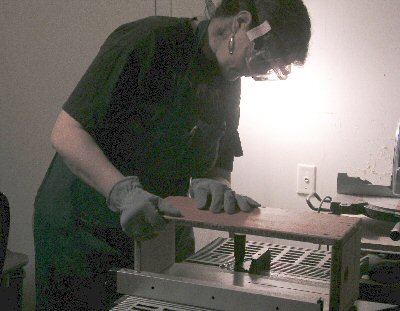
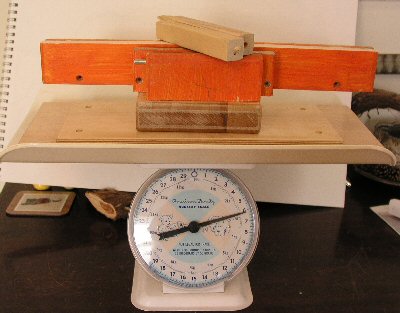
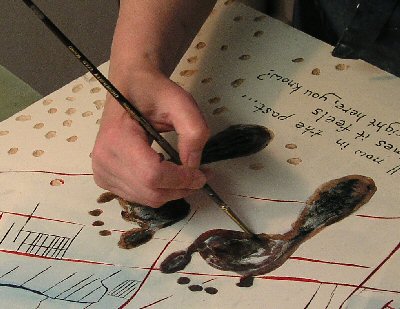
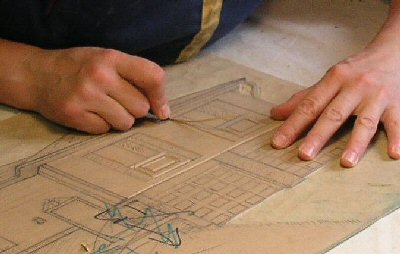
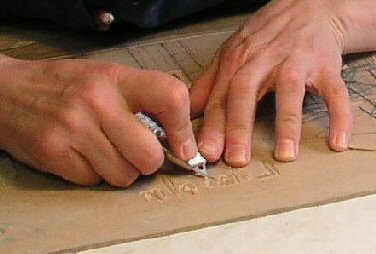
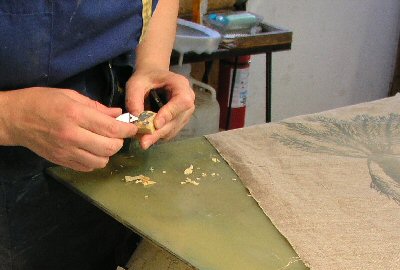
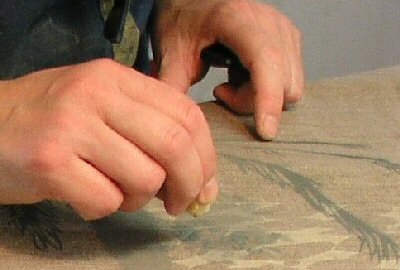
| Left: cutting a masonite block with hand tools. |
Right: working with a reciprocating chisel. |
| |
|
 |
 |
| |
|
 |
 |
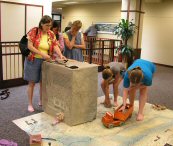
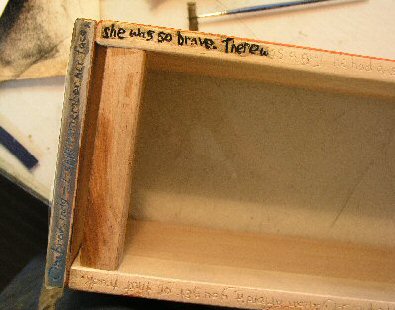
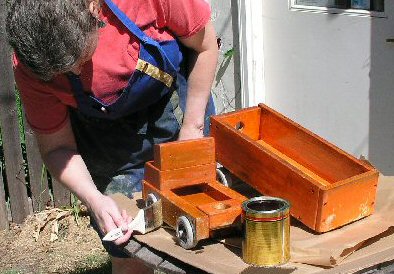
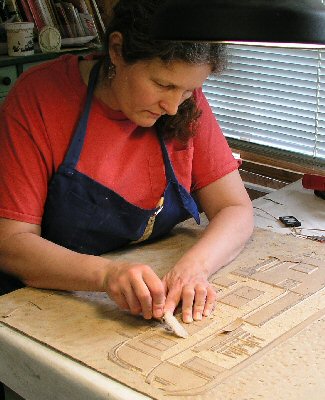
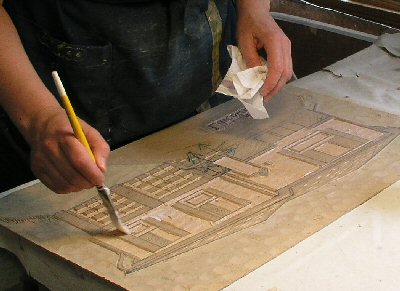
Left: a story carved around the top edge of a wooden toy truck. Right: Staining the letters on the truck. |
| |
|
|
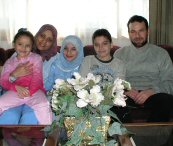
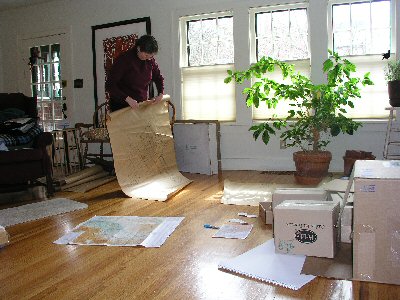
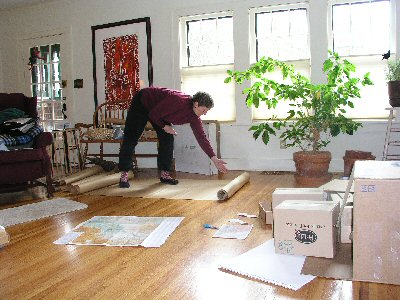
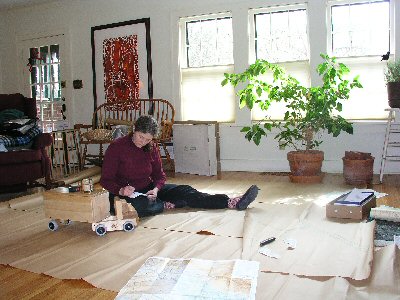
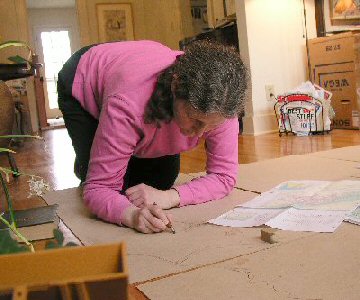
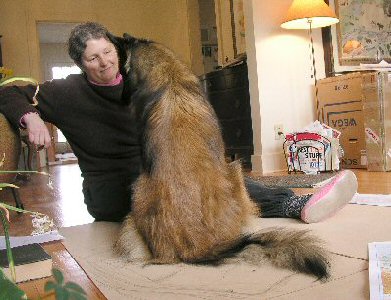
April 6, 2006: Pepón Osorio and I meet to discuss progress and ideas about the work-in-progress. |
| |
|
 |
|
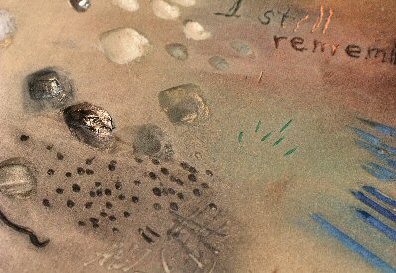
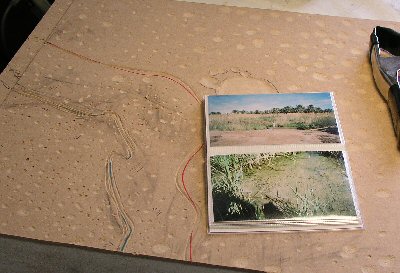
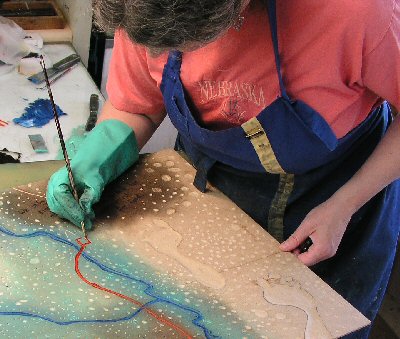
| Left: photos from Iraq with one of the pieces of hardboard. Right: color applied to the recessed areas of a test board. Note that the ink still is wet, so it is shiny in some places. The colors will lose that sheen when dry. |
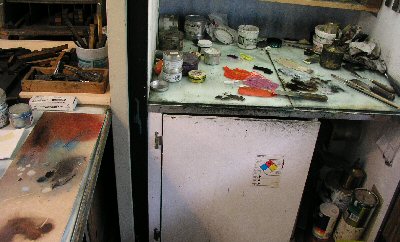
Left: test board with ink, and the solvent/inking ventilation cabinet. Right: Applying inks to the test board. One of my decisions at this point will be whether to use the subdued palette of the Iraqi landscape, or to incorporate more colors. |
|
| |
|
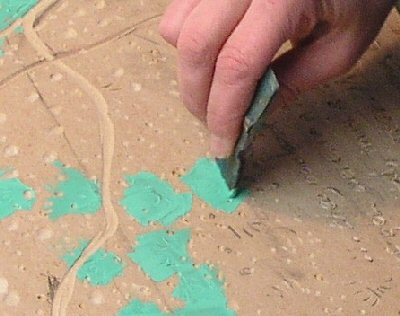
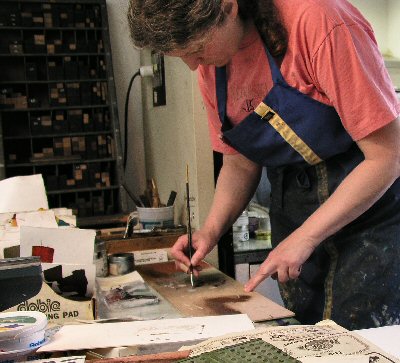
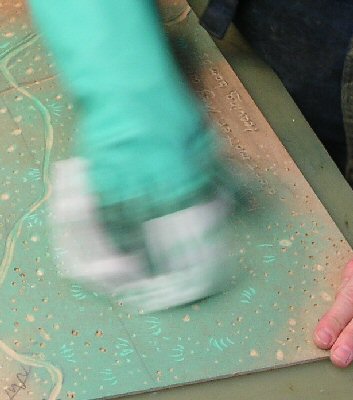
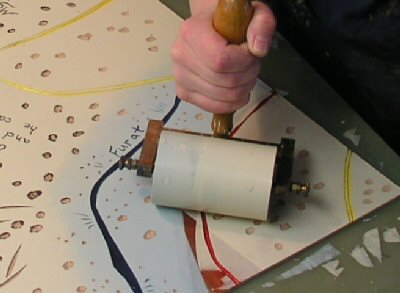
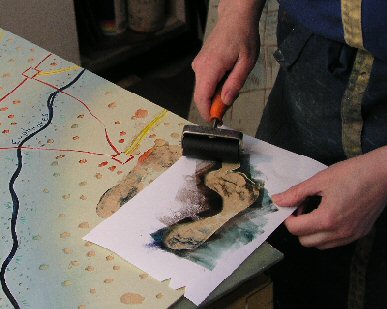
Time to start inking the panels. Above: applying green ink to specific marks. Right: wiping off excess ink, revealing the marks filled with green ink. |
 |
| |
|
|
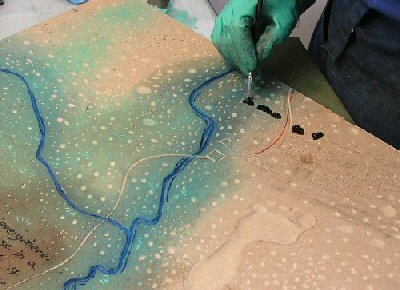 |
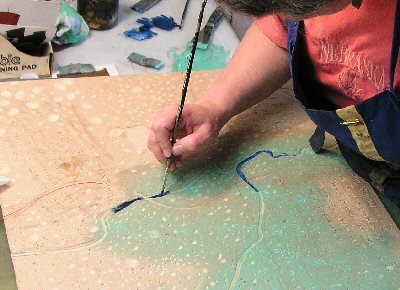
| Left: painting ink into the Tigris and Euphrates rivers. Right: inking words with dark brown. Again, the surplus will be wiped away with a solvent rag. In the lower left of this picture are words that have had the excess ink wiped from them. |
 |
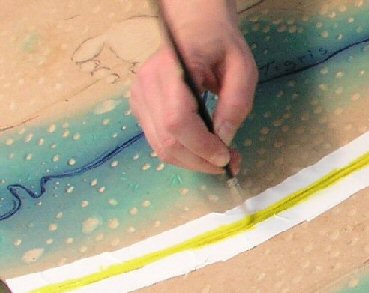
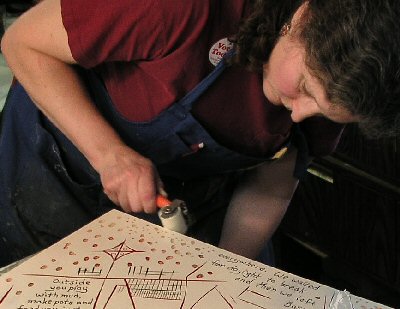
Left: brushing red ink into the roads. For some parts of this landscape I am using map colors, so roads are red or yellow and rivers are blue. I have not yet decided on colors for the foot prints and desert terrain.
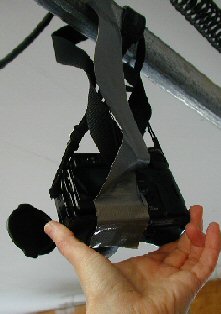
Who is taking these studio photographs? Look closely at my left hand in this picture. Do you see the electric eye on the remote I am holding? For this set of pictures, I hung the camera from a hook on the ceiling and used duct tape to adjust the angle. I try to take new photographs at each stage so that I can post updates documenting my progress on "Stories of Home."
|
| |
|
 |
|
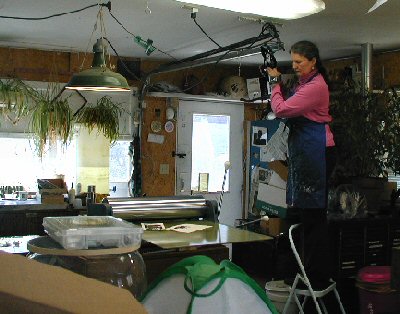
| Left: positioning the camera that I hung above the press from the garage door mechanism. Right: the camera's angle is adjusted with duct tape. Using a remote control, I can document much of my studio work. |
| |
|
 |
 |
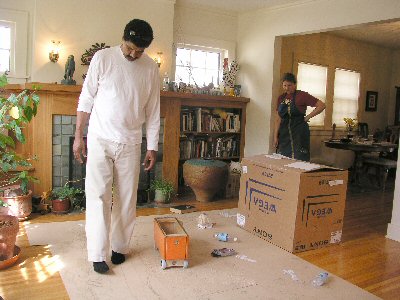
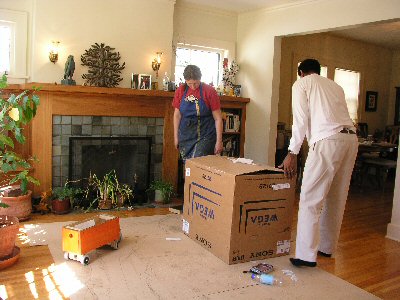
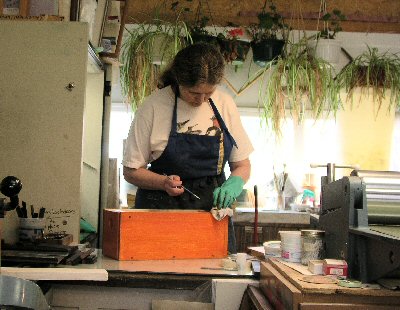
| With apologies to the manufacturer, I am altering the truck to make it fit the project. Two significant changes are needed: first, the truck's overall weight needs to be brought down. To that end, I removed supports and changed the shape by removing one of the three pieces that comprise the cab. Second, the truck Zainab rode in was open on top and the sides were low enough that people in the truck could lean over and pull up others who wanted to ride. So I trimmed down the sides of the truck, which also reduced weight. Total loss was about six pounds, bringing the semi to about twelve instead of eighteen pounds total. The truck now must not be used as a toy, as it no longer is as strong. |
 |
| |
|
 |
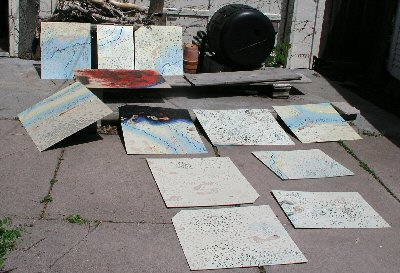 |
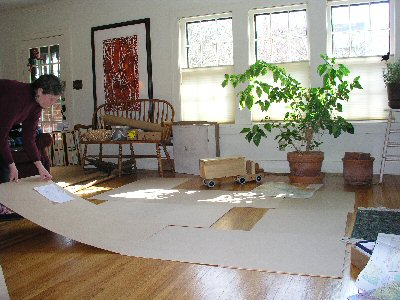
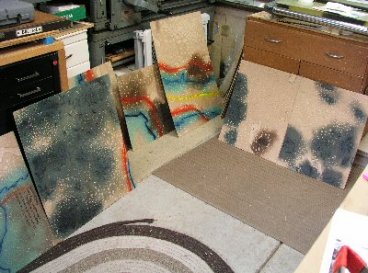
| Many changes: on May 8th the panels were as shown in the left-hand picture. At noon on May 9th I took the picture on the right. Since then the panels have changed yet again as layers of ink are added and sanded down. |
| |
|
 |
 |
Sometimes I tape edges to keep an ink job neat. |
Rolling a blend. |
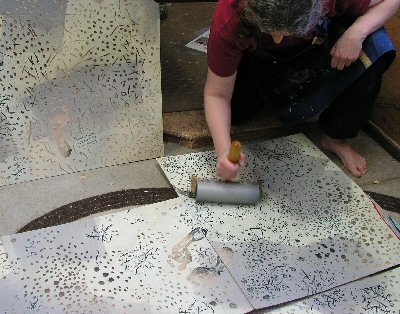 |
Left: rolling a darker gray onto the desert panels. Right: smoothing the edges of the roller marks. |
| |
|
 |
 |
Messy: distressing the truck (fun!). |
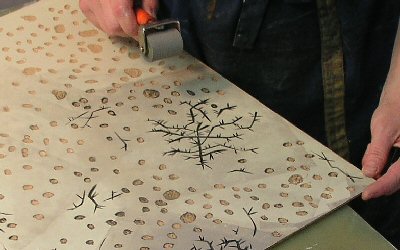
Tidy: inking the edges of the panels. |
| |
 |
 |
Adding color to the footprints. |
| |
|
 |
| Left: putting the first coat of polyurethane on the boards. Stinky, sticky work. Each panel will have two coats of polyurethane, front and back. Right: the semi truck also gets a coat of varnish. |
| |
|
 |
 |
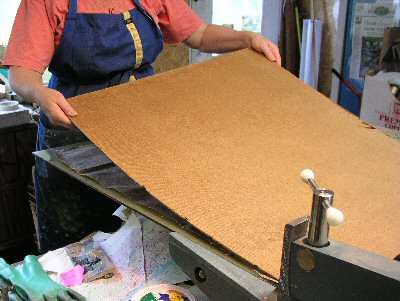
More carving in hardboard. This time it's for printing onto the linen that will make the tent covering for the crate. |
 |
Left: carving out large sections of the block for printing Zainab's childhood house in Basra. Above: sealing the block for the Lincoln house print. Sealing the blocks with a water-based acrylic medium serves to keep a lot of the little chips and loose bits of hardboard from mixing with the ink. It also keeps the ink from soaking into the board so I use less of it. |
| |
|
 |
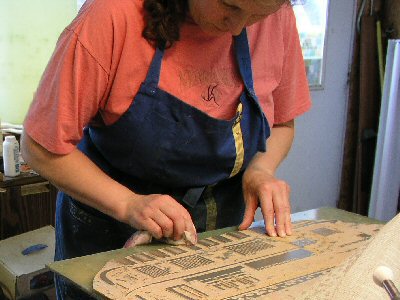 |
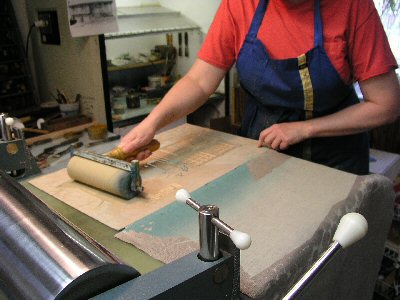
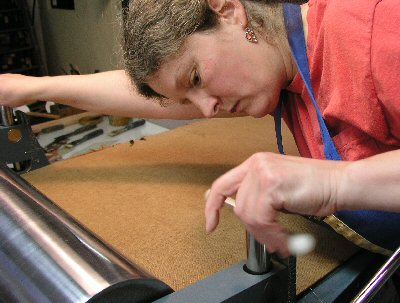
| Inking the board for the Lincoln house, and doing some hand touch-up work on the board for the Basra house. Notice that the linen is attached to the hardboard in the left-hand picture. Since I was printing layers of ink in fairly quick succession, I duct-taped the linen to the board to help with registration. |
| |
|
 |
 |
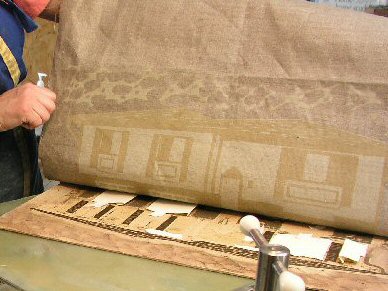
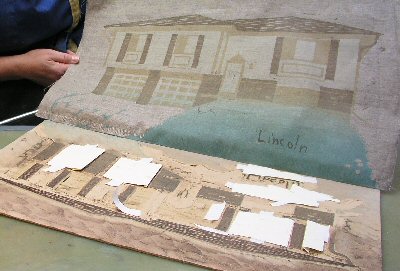
| Left: I have inked the Lincoln house block and am ready to print a third color. The bits of paper taped to the board are to block areas where I want to be sure no stray bits of dark ink will print. Right: making sure the linen falls where it should on the inked block (registering the print). |
| |
|
 |
 |
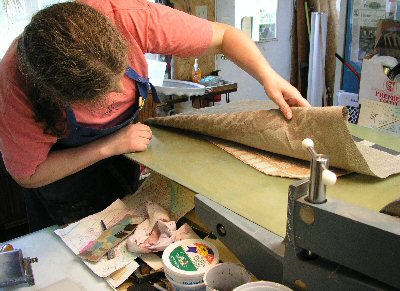
| Left: putting a backing board over the linen and inked block before running them through the press. Right: adjusting the pressure. |
| |
|
 |
 |
Left: the third color printed on the Lincoln house. Right: touch-up carving while the plate is on the press. |
| |
|
 |
 |
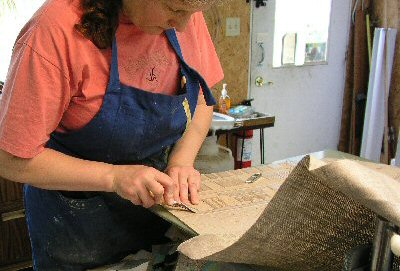
Left: carving an eraser to use as a stamp for detail in the date tree. Right: stamping detail on the date tree. |
| |
|
|
|
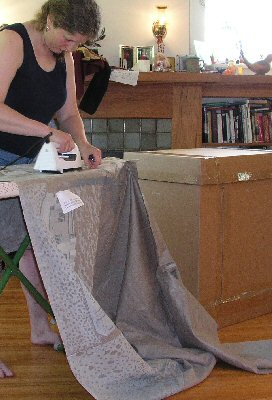
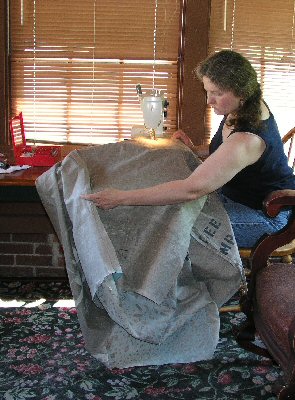
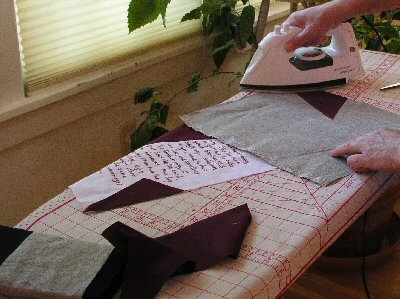
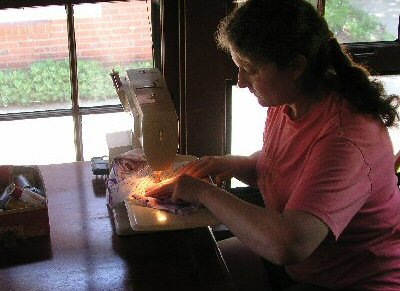
| Left: ironing the linen as I sew it to fit the crate, which is behind me. I don't care much for ironing. Right: sewing the linen. |
| |
|
 |
 |
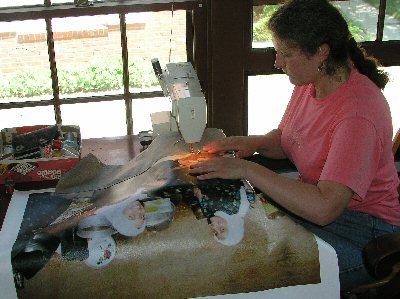
| Left: Sewing the large picture of Zainab and her sister in the refugee camp at Rafha. Right: ironing pieces for one of the bedrolls. |
| |
|
 |
 |
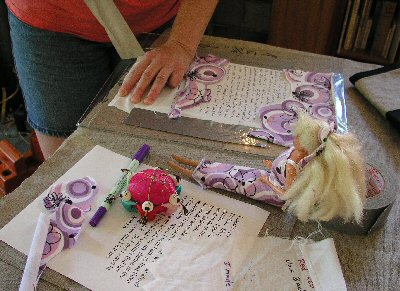
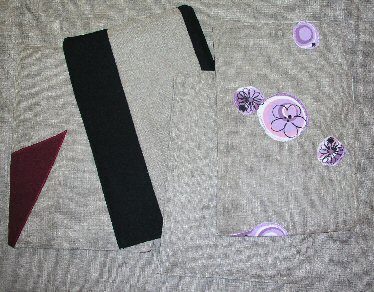
| Left: removing duct tape from the Barbie doll bedroll. I taped down the borders to help keep the fabric stretched so I could write on it. Zainab sewed the outfit for the Barbie, then gave me the remnants to use on the bedroll. Right: sewing the accent fabric on the Barbie doll bedroll. |
| |
|
 |
 |
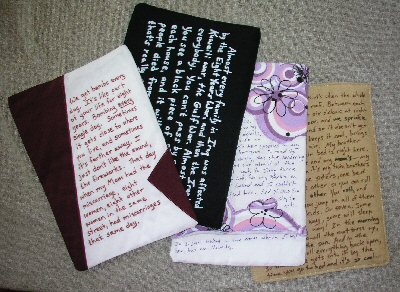
| The four bedrolls, fronts and backs. In the summertime in Basra, Zainab's whole family would sleep on the roof where it was cooler. During the day they would leave the mattresses rolled up to keep out the heat. I used the mattresses to bear some of Zainab's stories. |
| |
| |